
Projects > Canon 350D Modification
Many amateur astronomers modify their DSLRs to make them more sensitive to the Hydrogen Alpha part of the spectrum but that wasn't the reason I chose to modify mine. Since I started using the Astronomik CLS filter I have struggled to correct the colour balance while processing my images. Ultimately all of them ended up looking too blue or green due to the lack of red signal. I go into much more detail about the reason for this in the Astronomik CLS filter review. After comparing graphs showing which part of the spectrum is blocked by the stock Canon 350D IR/UV filter I realised that by removing it the camera should not only be more sensitive to Ha, but to much more of the red spectrum.
I decided that rather than remove the filter I would replace it with the Baader ACF filter as that would continue to block IR/UV light (albeit much more sharply) and would also protect the sensor from dust. It took me a week to locate a supplier with the Baader ACF filter in stock but fortunately I was able to obtain one from Modern Astronomy. I already possessed most of the tools I would need to carry out the modification so it was just a case of allocating a few hours to carry out the work. From start to finish the modification took me about 5 hours, though I wasn't rushing by any means.
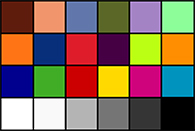
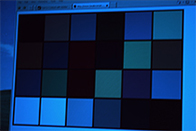
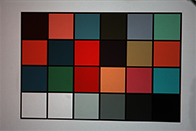
I won't go into great detail about the modification itself since this is very well documented on both the website I referred to earlier, and many other websites. By far the trickiest part of the modification is re-connecting the tiny ribbon cables when putting the camera back together after replacing the filter. I used cocktail sticks but it does require a steady hand and lots of patience. All in all my modification was successful, but I did put slightly too much glue on the filter bracket which oozed very slightly over the corner of the filter glass and does obstruct the FOV of the sensor very slightly in one corner (which isn't a problem for me as this is always cropped anyway and I only use the camera for astrophotography). On the following pages you'll find photos I took during the modification. The colour palette on the left was displayed on a computer screen and photographed with the Canon 350D to test the Canon 350D colour response both before (middle) and after (right) the modification. This clearly demonstrates the effect the modification has had on colour balance with the Astronomik CLS filter.
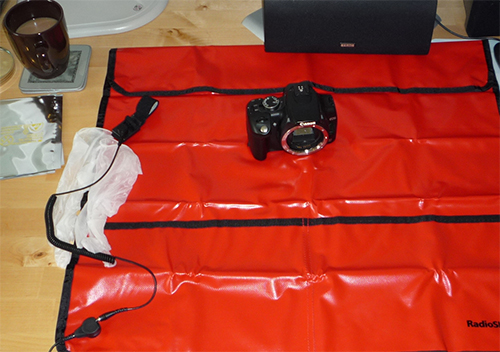
Preparing the work area (with the all important cup of tea!).

Getting inside the camera.
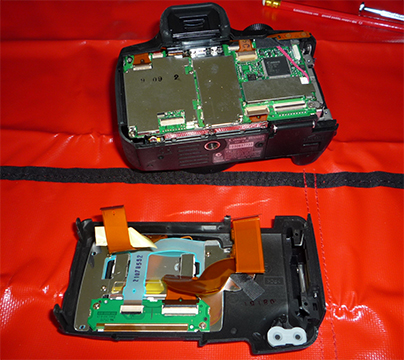
Disconnecting the back panel.
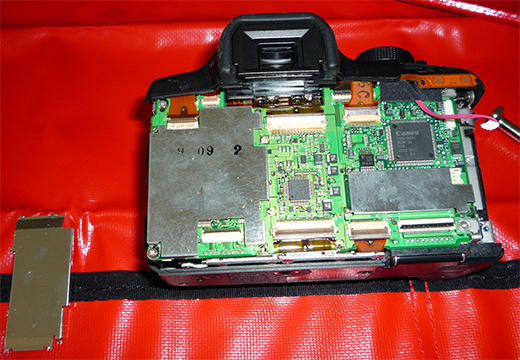
De-soldering the shield in front of the circuit board.

Gaining access to a concealed screw!
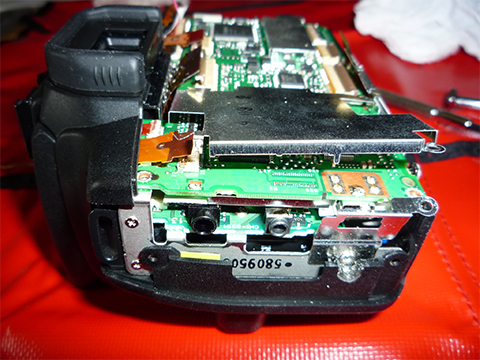
Screw wouldn’t budge so removed second shield instead.
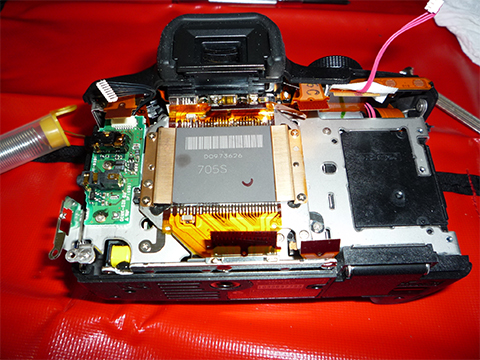
Main circuit board removed. Rear of sensor visible.
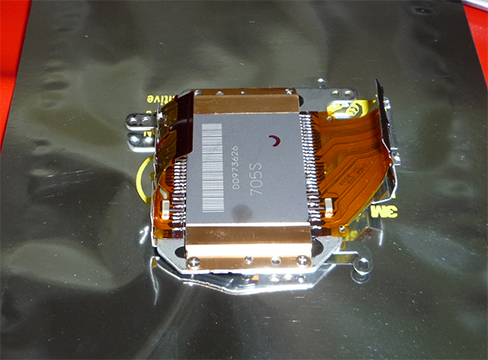
Sensor removed with filter attached (facing down).
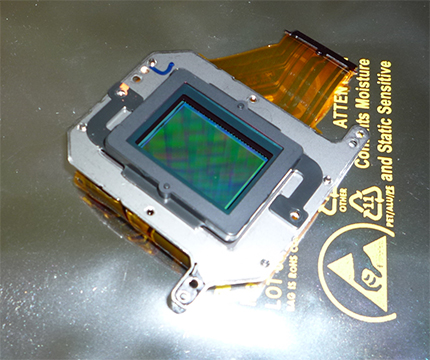
Topside of sensor with filter attached.
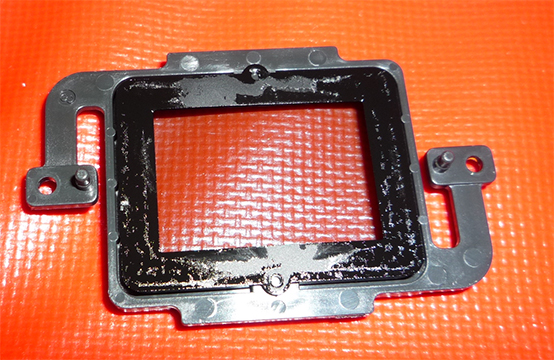
Filter bracket with filter already removed.

Filter bracket and original filter.
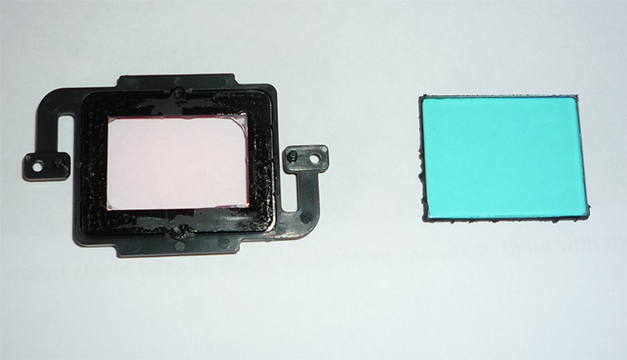
New filter in bracket next to old filter. Note how blue it is!
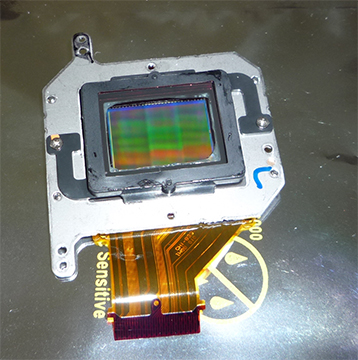
New filter attached to sensor. Note glue in corners!

Sensor brackets re-attached and ready to install.
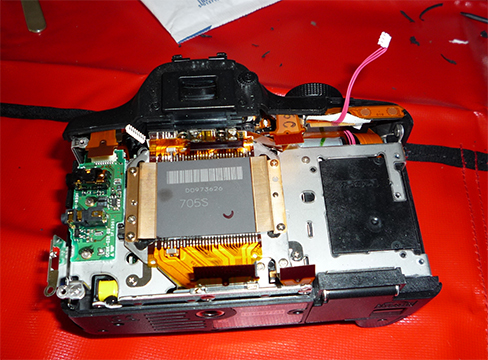
Sensor back in camera.
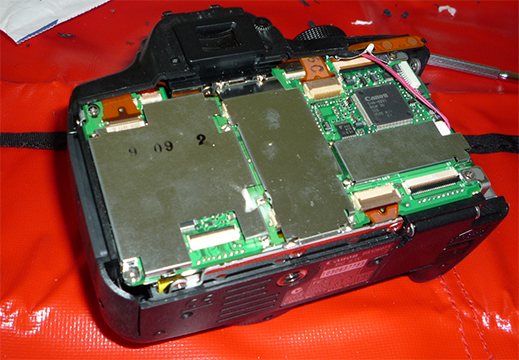
Circuit board and shields installed in camera.

Camera re-assembled and CLS filter installed.

Post modification test. Note increased red response and slight obstruction in top right hand corner of image.